






Choosing the right Thermal Label is not a minor purchasing decision. It affects scanning accuracy, packaging speed, product appearance, and long-term storage. A label may look perfect on a sample roll, then fade beside a warehouse window. That lesson is easy to miss.
Mike Fairley, a respected label-industry consultant, offers a useful principle: “A label succeeds only when it survives its real environment.” This idea should guide every choice. The best Thermal Label depends on exposure, handling, printing equipment, and expected lifespan. Direct thermal labels suit short-term uses, such as shipping receipts and grocery tags. Thermal transfer labels usually perform better when abrasion, moisture, chemicals, or heat are involved.
The seven tips in this guide focus on practical decisions. They examine label material, adhesive strength, printer compatibility, roll dimensions, image durability, surface conditions, and real-world testing. Small details matter. A core that fits poorly can interrupt production. A weak adhesive can leave cartons unreadable. An oversized label can wrinkle around a curved container.
Do not choose only by the lowest price. That approach often creates hidden costs through reprints, jams, and rejected packages. Still, no material is perfect. Even a premium Thermal Label may fail on dusty plastic or rough cardboard. Testing remains essential, although it is sometimes skipped under deadline pressure.
These recommendations combine technical judgment with everyday handling experience. They are designed to help buyers compare options clearly, question supplier claims, and select labels that perform beyond the first successful print.
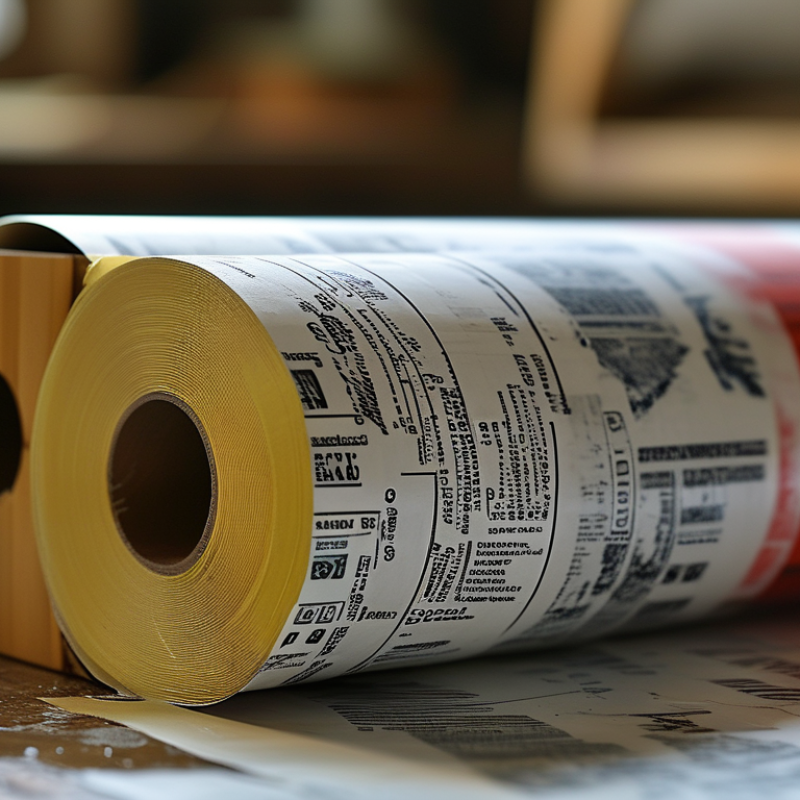
7 Tips for Choosing the Best Thermal Label
Identify the Thermal Label Type That Fits Your Printer and Workflow
Tip 1: Match the label to your printing method. Direct thermal labels darken through heat and need no ribbon. They suit receipts, shipping labels, and short-term identification. Thermal transfer labels use a ribbon for sharper, longer-lasting prints. Choose them for storage tags or labels exposed to sunlight, moisture, or friction.
Tip 2: Check your printer’s exact requirements. Confirm label width, roll core size, outside diameter, gap spacing, and sensor position. A label may fit the roll holder but still feed poorly. I once selected the correct width but ignored the gap setting. The printer skipped several labels. That mistake was avoidable.
Tip 3: Test the adhesive in real conditions. Apply a sample to cardboard, plastic, or a textured surface. Then chill it, handle it, or expose it to dust. Adhesives behave differently across temperatures and materials. A strong adhesive is not always better. It can tear packaging or leave residue during removal.
Tip 4: Consider your workflow speed. Labels should peel cleanly, print consistently, and remain readable after handling. Test a full roll, not just one sample. Watch for curling, smearing, or frequent pauses. Small problems become expensive during busy packing periods.
Tip 5: Leave room for review. Workflows change, and the cheapest label may create more waste. Record your printer settings, storage conditions, and test results before ordering larger quantities.
| Tip | Decision Dimension | Recommended Choice | Key Facts to Check | Best-Fit Workflow |
|---|---|---|---|---|
| 1 | Printing Technology | Direct thermal or thermal transfer | Direct thermal labels contain heat-sensitive coating and do not require a ribbon. Thermal transfer labels use a ribbon to transfer ink onto the label surface. | Choose direct thermal for short-term information such as receipts, dispatch labels, and temporary identification. Choose thermal transfer when the label must resist abrasion, moisture, chemicals, or extended storage. |
| 2 | Printer Compatibility | Match the printer's media specifications | Verify print method, maximum print width, label width and height, roll or fanfold format, core size, maximum roll diameter, sensor type, and supported media thickness. | This is essential for reliable loading, accurate registration, and avoiding jams or print-quality problems in desktop, mobile, or industrial printing environments. |
| 3 | Label Detection Method | Select the correct gap, black-mark, or continuous format | Die-cut labels commonly use gaps between labels. Black-mark media uses printed registration marks on the liner or reverse side. Continuous media has no fixed label separation. | Use gap or black-mark labels for automatically separated tags and barcodes. Use continuous stock for variable-length receipts, tickets, signs, or labels cut to the required length. |
| 4 | Required Service Life | Choose material and print method according to exposure time | Direct thermal images can darken with prolonged heat, sunlight, or contact with some chemicals. Thermal transfer generally provides better long-term image stability when the ribbon and face material are properly matched. | Use direct thermal for days-to-months applications with controlled exposure. Use thermal transfer for inventory, asset, laboratory, outdoor, or archival identification where readability must last longer. |
| 5 | Environmental Resistance | Select paper, synthetic, or specialty stock | Consider water, condensation, oil, solvents, abrasion, freezing temperatures, heat, ultraviolet exposure, and the surface to which the label will be applied. | Paper is suitable for many indoor, dry applications. Synthetic films are better for moisture, scuffing, and demanding handling, but they may require compatible adhesive, ribbon, and print settings. |
| 6 | Barcode and Image Quality | Match label size, printer resolution, and print speed | Confirm barcode dimensions, quiet zones, contrast, orientation, and the printer's resolution. Smaller symbols and fine text require suitable media, correct darkness, and controlled speed. | For scanning workflows, test the complete label design on the intended printer and verify readability with the same scanner or verification process used in daily operations. |
| 7 | Total Workflow Cost | Compare the complete cost, not only the label price | Include labels, ribbons when required, printer maintenance, roll changes, waste, adhesive failures, reprints, storage conditions, and labor time. | Direct thermal can simplify high-volume, short-life printing because it eliminates ribbon handling. Thermal transfer may reduce replacement and reprint costs when durable labels prevent loss of identification. |
