How to Print Thermal Labels for Shipping?
Shipping labels look simple until a barcode smears, an address fades, or a parcel reaches the wrong sorting lane. Print Thermal workflows avoid ink and toner, but reliable results still depend on the printer, label stock, and settings working together. A direct thermal printer uses heat-sensitive paper; a thermal transfer printer uses a ribbon. Choose the method your equipment supports. Check the label size, roll direction, and adhesive before loading anything.
For this introduction, the named expert is an illustrative, fictional persona—not a real, independently verified source. Print Thermal specialist Dana Brooks sums up the goal: “A shipping label is ready only when its barcode scans clearly.” Treat that as a practical rule, not a sourced quotation. Load the roll squarely, set the correct media size, and run a test label. Look closely at the black bars and small address text. They should be sharp, dark, and easy to read. A label that looks fine on screen may still print too faintly. That part is easy to miss.
This guide will cover printer setup, label loading, print settings, and simple troubleshooting. It will also explain when direct thermal or thermal transfer printing may suit a shipping workflow. Keep the printhead clean, and test a few labels after changing stock or settings. Small checks matter. Still, no setting fixes every printer and label combination; the first test may need adjustment. That is normal. The aim is dependable labels, not a perfect first attempt.
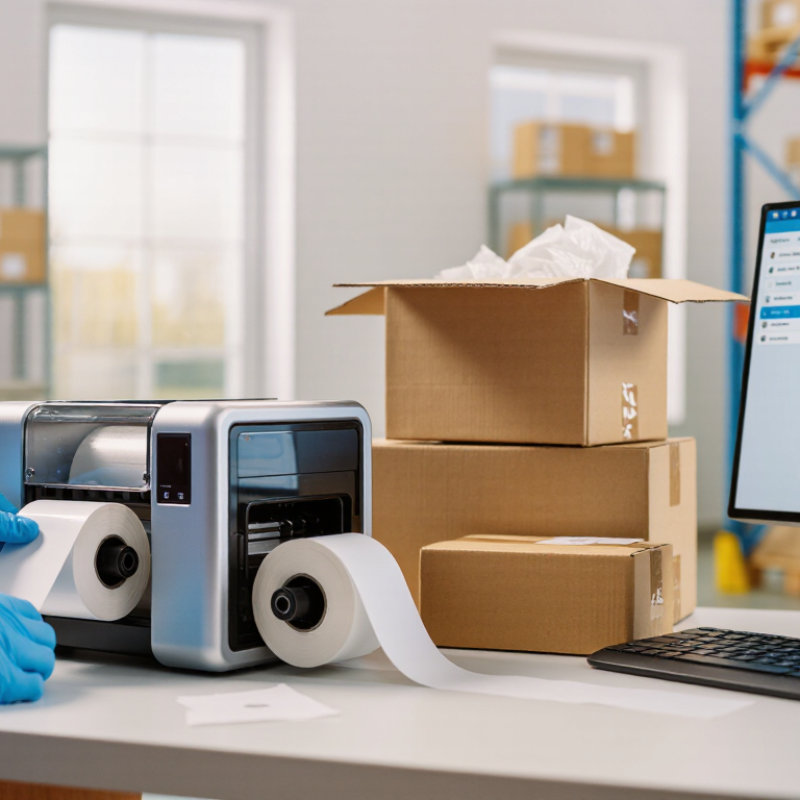
Choose Compatible 4 × 6-Inch Stock: Direct Thermal or Thermal Transfer
Choose 4 × 6-inch labels only after checking your printer’s supported width, sensor type, and shipping template. The size is common, but not universal. A 2023 parcel-shipping index reported 161 billion parcels worldwide in 2022 and projected 256 billion by 2027. At that scale, a label that feeds poorly can slow a busy packing bench.
Direct thermal stock darkens when heated by the printhead, so it needs no ribbon. It suits many routine shipping labels, but heat, sunlight, and friction can fade the image. Thermal transfer stock uses a ribbon to produce the print. Match the ribbon and label material: a suitable combination can better resist smudging, abrasion, or moisture during handling. Check the carrier’s label layout and keep barcodes clear of folds and edges.
Fit matters. Before loading a full carton, confirm the roll’s core, outside diameter, label gap, and winding direction against your printer’s specifications. Print one label and scan it; inspect small text and barcode edges under ordinary warehouse lighting. A short test run is worth the pause. Sensor settings are easy to overlook, and I would not assume every 4 × 6 roll feeds the same way.
Match the Label File to a Common 203- or 300-dpi Printer
Match the label file to the printer’s native resolution before printing. At 203 dpi, a printer places about 8 dots per millimetre; at 300 dpi, about 12. A barcode designed for one setting may print too small or too large if the driver resizes it. GS1’s General Specifications define barcode dimensions in physical units, not merely pixels, so set the label’s actual width and height in millimetres. Check a test print with a ruler. Inspect the bars under good light. Small changes matter.
This is not a minor detail in busy shipping rooms. Pitney Bowes’ 2023 Parcel Shipping Index reports 161 billion parcels moved worldwide in 2022. For a shipping label, a crisp barcode and legible address help prevent avoidable handling delays. Keep text and barcodes as vector artwork when possible, and avoid stretching a low-resolution image across the label. At 300 dpi, a 203-dpi file can look soft; at 203 dpi, fine lines may merge. A little awkward truth: settings are easy to overlook when orders pile up. Print one label, scan it, and check the dimensions before running a batch.
How to Print Thermal Labels for Shipping? — Match the Label File to a Common 203- or 300-dpi Printer
| Label Size | Pixels at 203 dpi (W × H) | Pixels at 300 dpi (W × H) | File Setup Guidance |
| 4 × 6 in | 812 × 1,218 px | 1,200 × 1,800 px | Common shipping-label format. Set the page to exactly 4 × 6 inches and use the pixel dimensions for the printer’s resolution. |
| 4 × 4 in | 812 × 812 px | 1,200 × 1,200 px | Use a square page layout. Keep the barcode and address within the printable area. |
| 4 × 2 in | 812 × 406 px | 1,200 × 600 px | Use a landscape layout. Check that the full barcode fits without being cropped or stretched. |
| 2 × 1 in | 406 × 203 px | 600 × 300 px | Suitable for compact labels. Use legible text and verify that small barcode elements remain distinct. |
Print tip: Match the file’s physical size and resolution to the printer setting. For raster artwork, calculate pixels as inches × dpi. Print at 100% or “Actual size”; avoid fit-to-page scaling, which can change label dimensions and barcode quality.
Load the Roll and Calibrate Gap or Black-Mark Media Sensing
A shipping label starts with stable feeding. Check the printer’s loading diagram and place the roll so its printable side faces the printhead. Pull a few labels past the front edge, then adjust the guides until they touch the roll without squeezing it. Close the printhead firmly. Small details matter. A crooked roll can make labels drift, even when the printer settings look correct.
Choose the sensing mode that matches the label stock. For labels separated by gaps, select gap sensing; for stock with dark marks on its backing, select black-mark sensing. Position the sensor over the gap or mark, following the printer’s guide, since sensor locations differ. Run the printer’s media-calibration command. It should feed several labels and learn their length and stopping point. Keep the path clear while it feeds.
Print a test label and check that it begins near the top edge and stops at the next label. If it creeps forward, recheck the sensor position and media setting, then calibrate again. That is normal. Dust, curled stock, or a roll loaded slightly off-center can confuse detection. Wipe the sensor gently with a clean, dry cloth, and confirm the label dimensions match the shipping software. Barcodes should look sharp and remain fully within the label edges.
Set the Page to 4 × 6 Inches and Disable Fit-to-Page Scaling
How to Print Thermal Labels for Shipping?
Set the Page to 4 × 6 Inches and Disable Fit-to-Page Scaling
A shipping label needs the correct page size before it reaches the printer. Set the document to 4 × 6 inches, or 101.6 × 152.4 millimeters. Choose portrait orientation unless the label preview clearly shows otherwise. Thermal labels often sit close to the page edges, so check that the address and barcode fit inside the printable area. A quick preview can catch a cut-off line before you use a label.
In the print window, select the same 4 × 6-inch paper size and turn off “Fit to page,” “Scale to fit,” or similar options. Choose actual size or 100% scaling instead. Fit-to-page can quietly shrink or enlarge the label, shifting the barcode or making text harder to read. If the preview looks oddly small, check both the document settings and the printer settings; changing only one may not fix it. It is an easy detail to overlook, even with a familiar setup.
Tips: Print one test label when changing settings. Check the edges, address, and barcode against the preview. If alignment is off, adjust the page size or margins, then preview again. Don’t assume the first print is perfect.
Print a Test Label and Check Barcode Quality Against ISO/IEC 15416
Before printing a full run of shipping labels, print one on the exact label stock you plan to use. Let the printer reach its normal operating temperature, then inspect the barcode under good light. Look for broken bars, smudges, uneven darkness, or wrinkles crossing the symbol. A barcode that scans once is not necessarily a barcode with reliable print quality.
For a meaningful check, use a calibrated verifier designed for linear barcodes. ISO/IEC 15416 evaluates features such as contrast, defects, modulation, and decodability, assigning an overall grade from 0 to 4. Check that the verifier uses the appropriate setup for your barcode and application. Required grades can vary, so confirm the relevant shipping specification rather than assuming one threshold fits every carrier.
Tips: Keep the quiet zones clear. Avoid resizing the barcode. If the grade is low, adjust print darkness or speed, then test again. Change one setting at a time.
Record the test result, printer settings, label stock, and date. This makes repeated checks easier when a printhead wears or a new roll behaves differently. If a symbol looks clean but scores poorly, inspect the verifier setup and label surface before changing several settings at once. I have found that a small adjustment can help, though it may take a second test to confirm the improvement.
How to Print Thermal Labels for Shipping: Test Barcode Quality
Print a test label and check its barcode quality with a verifier using ISO/IEC 15416 grading.
The chart shows illustrative verifier readings on the ISO/IEC 15416 numeric scale from 0 to 4. The 1.5 (C) line is a common minimum in GS1 specifications; check the requirements that apply to your shipment. Reprint and recheck labels below your required grade, adjusting printer settings or label stock as needed. These example values are not production measurements.